Warehouses Closed November 28 & 29
Draft Patterns and Templates with ease using the fast2mark Quilter's Rulers
Draft Patterns and Templates with ease using the fast2mark Quilter's Rulers
 Hello - my name is Allison Rosen and I am delighted to be here on behalf of C&T Publishing, the home of Stash Books and FunStitch Studio!
In November, we are debuting a ruler duo named fast2mark 6" & 18" Quilter's Rulers that have a beveled edge to accurately measure, mark & draft for perfect patterns & pieces every time.
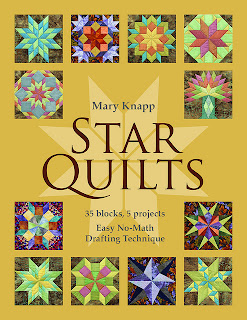
Created by Mary Knapp, the author of Star Quilts, these rulers have been designed for accuracy every time.
The inspiration for this project came from the block above (hint: this block is from the book Modern Blocks!)
With the fast2mark 6" & 18" Quilter's Rulers in hand, I started drawing lines on the paper side of the freezer paper.
The width of the ruler seemed like the perfect way to easily measure and draw out the block.
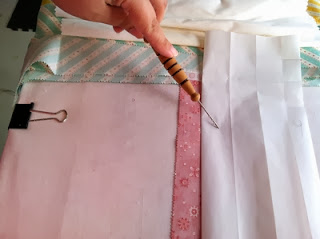
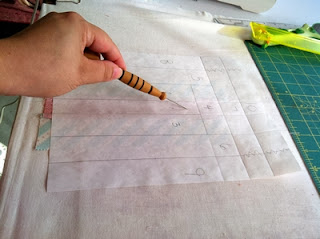
For the FPPP method, you need to pre-score all the lines you draw.
Make sure you pre-score the line all the way across the paper. Above, these is a drawn line, so that's a definite place to pre-score.
In this photo, you can see that I extended the scoring line right across the page.
see?
And then you look at it again, and sometimes you just have to make a design decision (and yes, in this case, a time-sensitive decision!) and cross out some of the lines to make it simpler for this method. (note: I have done really complicated patterns with FPPP and it holds it own quite well!)
see ya' later alligator.
Fabric! I chose a Jelly Roll from Eric and Julie Comstock (aka Cosmo Cricket) called 'Baby Jane'
I divided them up by color.
Red in the center just felt right! The freezer paper is shiny side up and the fabric is laid on top with right side up.
Use a pres cloth to secure the fabric to the shiny side.
Press.
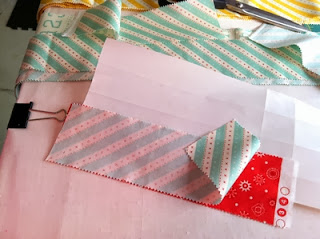
Fold back on the line between #1 and #2
The freezer paper that was ironed down releases quite easily so you fold it away.
Flip the whole thing over, and lay down the fabric for position #2 with right sides facing.
At the sewing machine - use a teflon presser foot so that it doesn't get stuck on the shiny side of the freezer paper. (trust me). And then you sew just NEXT to the paper, going only through the fabric.
Flip open, press.
Trim down the seam allowance to 1/4" for the next seam in position #3.
I love how flat it lays down!
Now fold the freezer paper away again, take it back to your sewing machine, and once again, sew just NEXT to the paper.
Time to add #4.
Peel back the freezer paper. Trim the seam allowance.
Add the next piece of fabric - again right sides together.
Sew - flip open, and press.
And just keep repeating these steps until you have sewn all the way around.
An in progress shot.
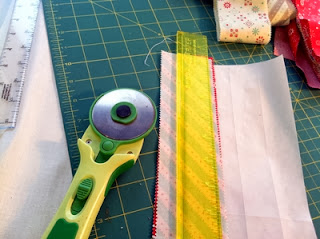
Everything is sewn, and now you trim!
I like to use the add a quarter ruler.
The trimmed block.
And from the back.
And now for the absolute best part of freezer paper paper piecing!! You just life off the whole piece - and you can use it again! No tugging out little papers!
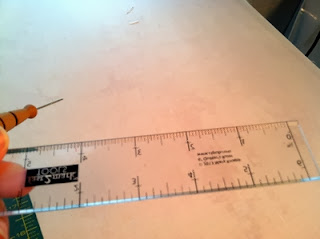
So about the fast2mark 6" & 18" Quilter's Rulers -- a couple of things to note. The measurements start in from the end - see above, where I'm pointing to? I thought that the edge was a 1/4 inch mark at first, but it is actually better than that! It is moved in a little so that you always know where to start and where to stop the pencil, pen, etc.
No more sliding off the end of the ruler with a curve. arg.
A beveled edge to keep your pencil close.
But a perfectly sharp edge as well.
To enter please leave a comment telling us your favorite measuring device!
You will have until September 30th at midnight to comment. All winners will be randomly selected and announced on Moda...The Cutting Table Blog on October 2nd.
Make sure to visit the blog every day for the opportunity to win each giveaway!"








.jpg)
Comments